Introduction
Process details how to set up the headset and speakers on your computer when working from home.
There are 2 sections:
Details
With the headset that you have plugged in via USB, it will require you to DISABLE the speakers on your desktop/laptop/any external speakers. This is NOT on your Virtual Machine, this is to be completed on your NORMAL desktop.
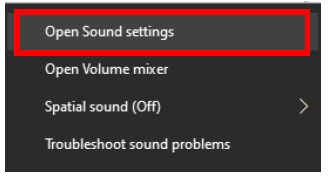
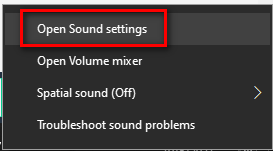
- Right-click on the speaker in the bottom right-hand corner of your desktop screen.

- Select ‘Open Sound Settings’.
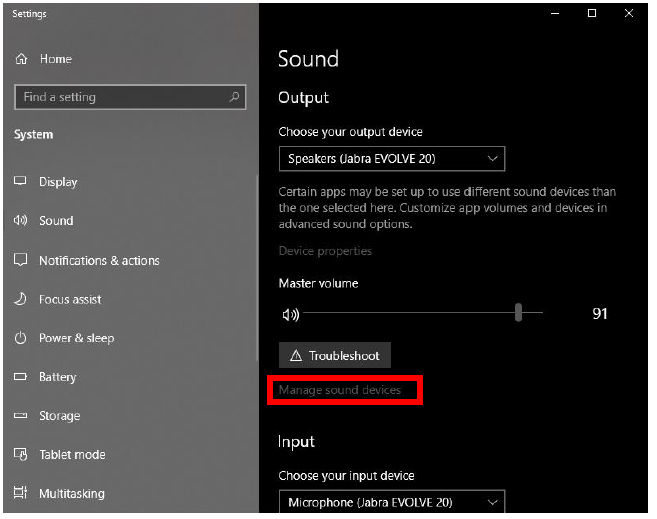
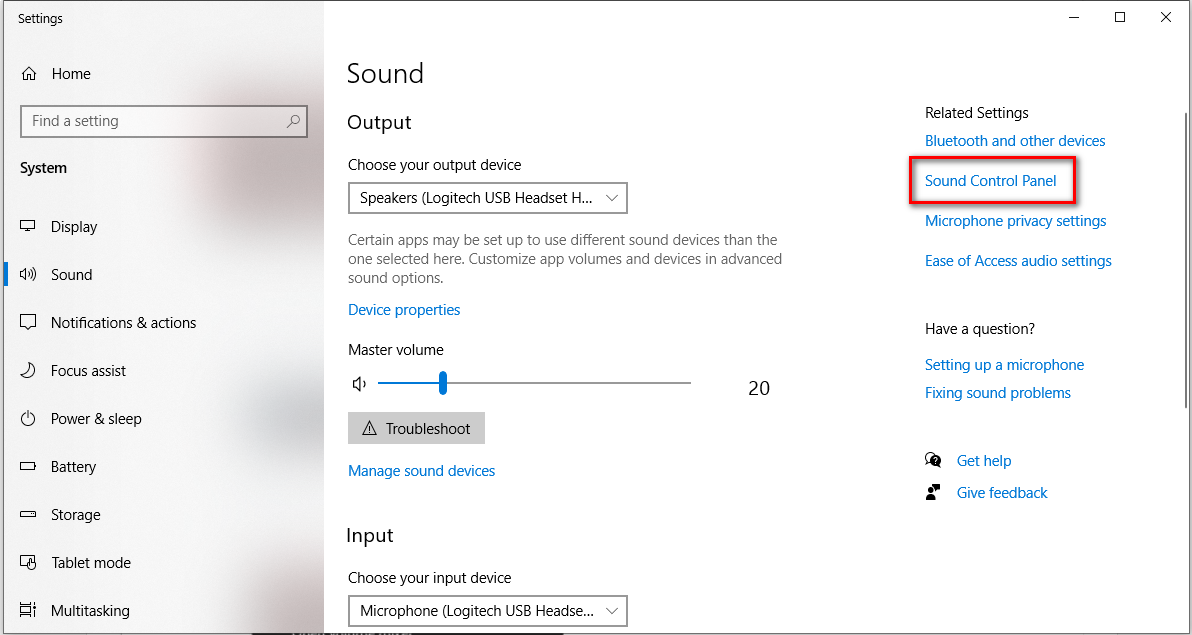
- Once opened, select ‘Manage Sound Devices’.
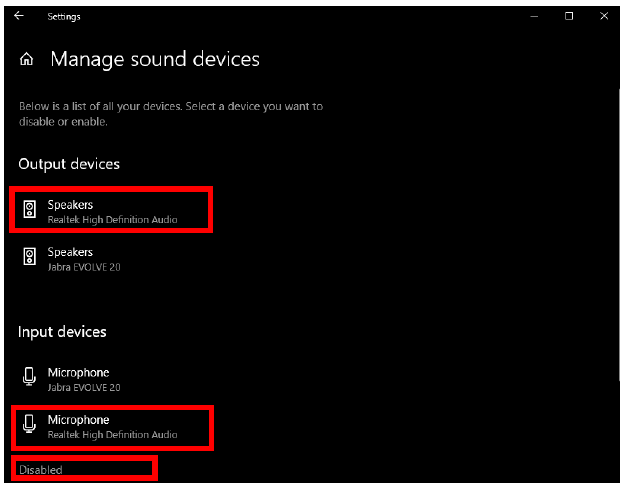
- This will allow you to manage the devices for sound input and output. It may say Jabra, Sennheiser or another manufacturer. Select any device under ‘Output devices’ and ‘Input devices’ and select “Disable” to allow your Headset to function properly and assure that you and the customer can hear each other.
- This will leave your Sennheiser headset as the only enabled source of input and output. They will move down to the ‘Disabled’ section and will be able to be enabled for normal use of the station on your personal time.
- This will leave your Sennheiser headset as the only enabled source of input and output. They will move down to the ‘Disabled’ section and will be able to be enabled for normal use of the station on your personal time.
- This may look a little different for some of you if you are not working off of a Windows 10 based system but should have very similar steps to follow.


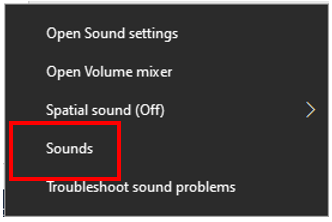
- Right-click on the Sound icon on your toolbar.

- Select Sounds.
- If you don't see this icon on your taskbar, look for the Speakers icon.

- Right-click on Speakers and choose Open Sound Settings.
- On the far right side of the screen click on Sound Control Panel.
- If you don't see this icon on your taskbar, look for the Speakers icon.
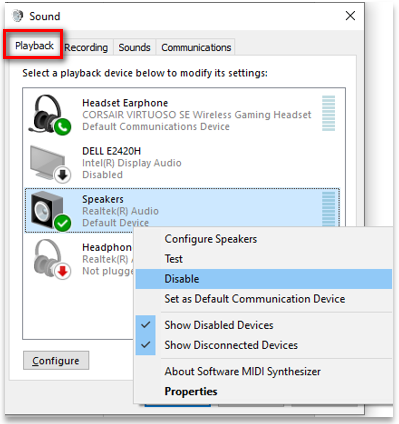
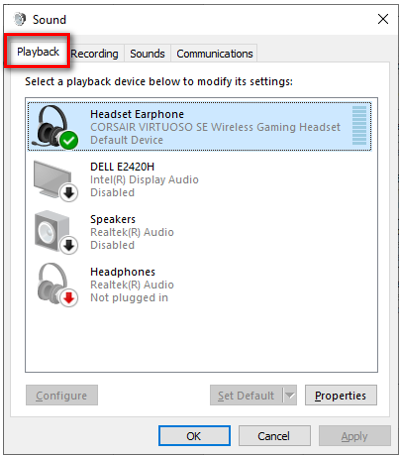
- Check and make sure only your Headset Earphone is listed with a Green Check or Green Phone icon under the Playback Tab.

- Right-click on the non-Headset device and choose Disable. Do this for each device you don't want sound to go through.
- The screen should now only show one default Audio device selected and in use.
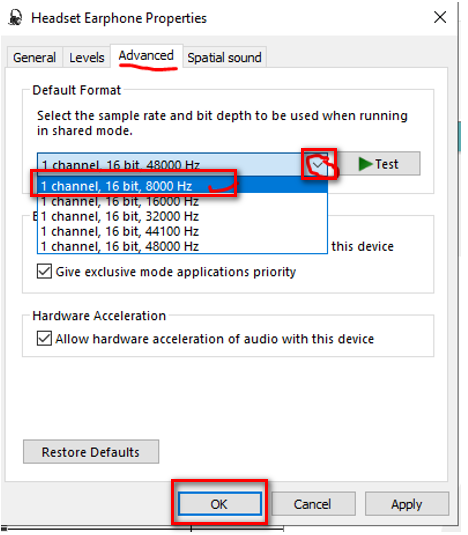
- Right-click on the Headset Earphone and go into Properties.
- Select Advanced Tab, for the Default Format select the lowest quality possible.
- We prefer telephone quality 8,000, but some headsets only have 41,000 as the lowest, these have been working, but 8,000 works better.
- Click OK.
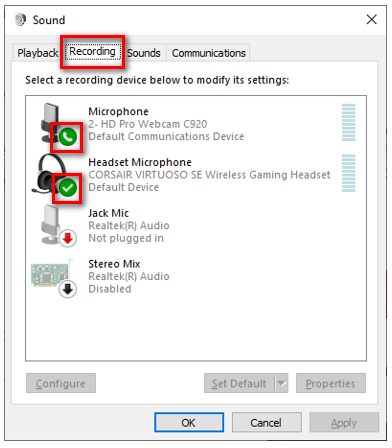
- Next, click on the Recording Tab. If you see two items with the Green check or Green phone icon, we will need to disable one.
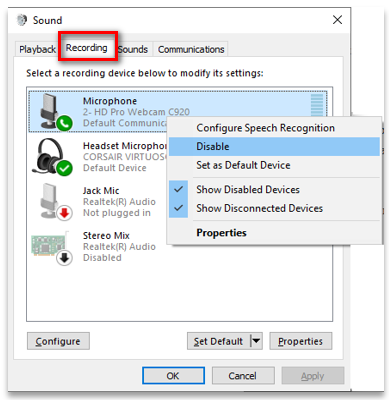
- Right-click on the non-Headset device and choose Disable.
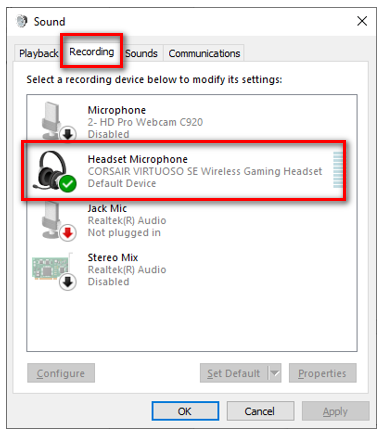
- You should now see only one default and selected microphone under the Recording tab.
- Right-click on the Headset Earphone and go into Properties.
- Select Advanced Tab, for the Default Format select the lowest quality possible.
- We prefer telephone quality 8,000, but some headsets only have 41,000 as the lowest, these have been working, but 8,000 works better.
- Click Apply and then OK.
- For these settings to take effect you may need to sign out of the machine and sign back in. Closeout of your applications and Sign out of the machine.
- When you sign back in the new changes should be saved and showing.


Revision History
Date Created: 11/13/2020 12:16 pm EST
Last Modified: 11/13/2020 12:27 pm EST