Introduction
If your device cannot scan the QR code, you can manually enter your account information to complete the setup. The codes you enter are not case-sensitive and do not require spaces. Two-factor authentication helps protect your account and company data.
Details
IMPORTANT: Microsoft Authenticator app should be installed before adding your account. If needed, see the Register on MS Authenticator for installation instructions.
Add your work account
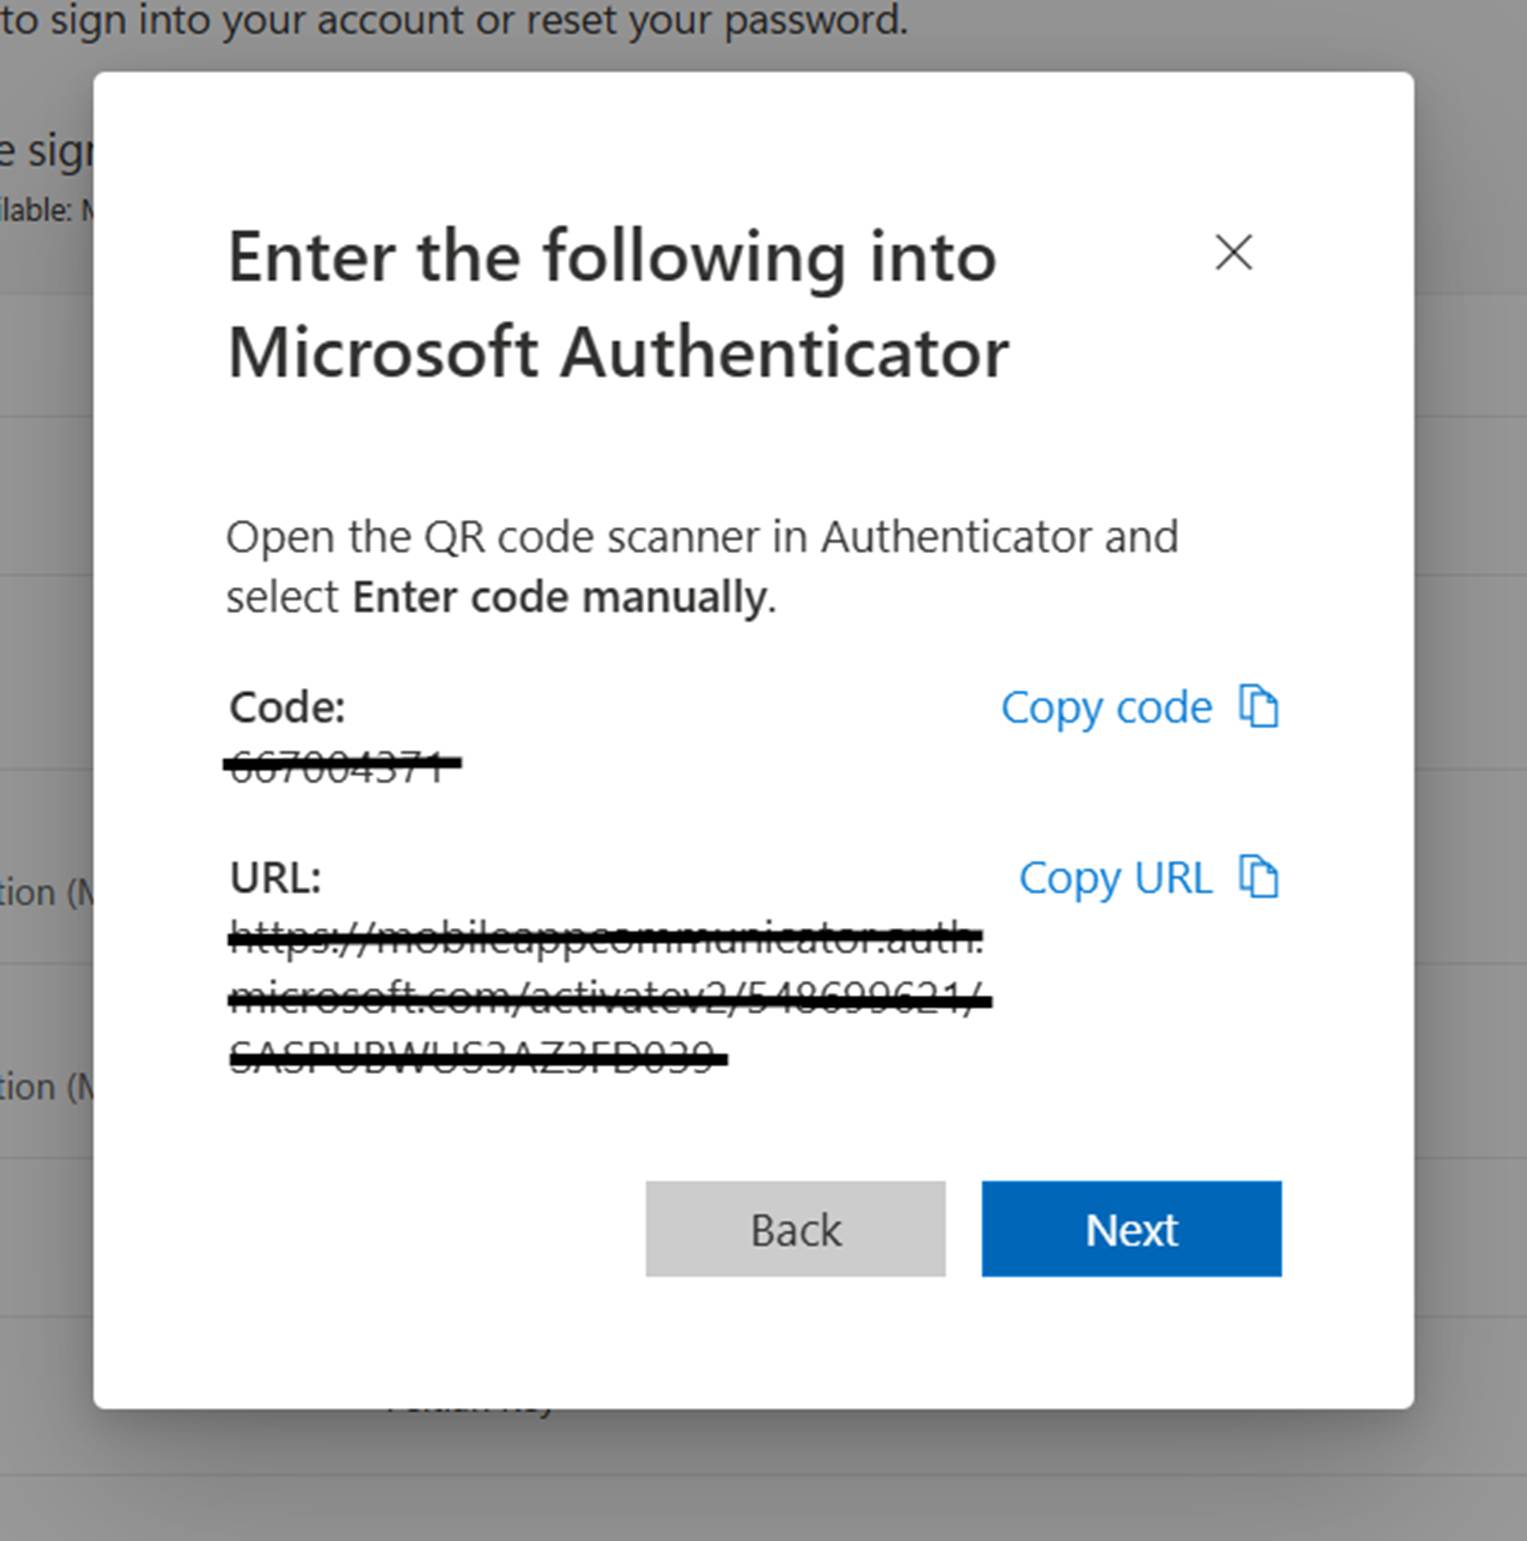
- On your PC, view and note the Code and URL on the Configure mobile app page. Keep this page open for reference.

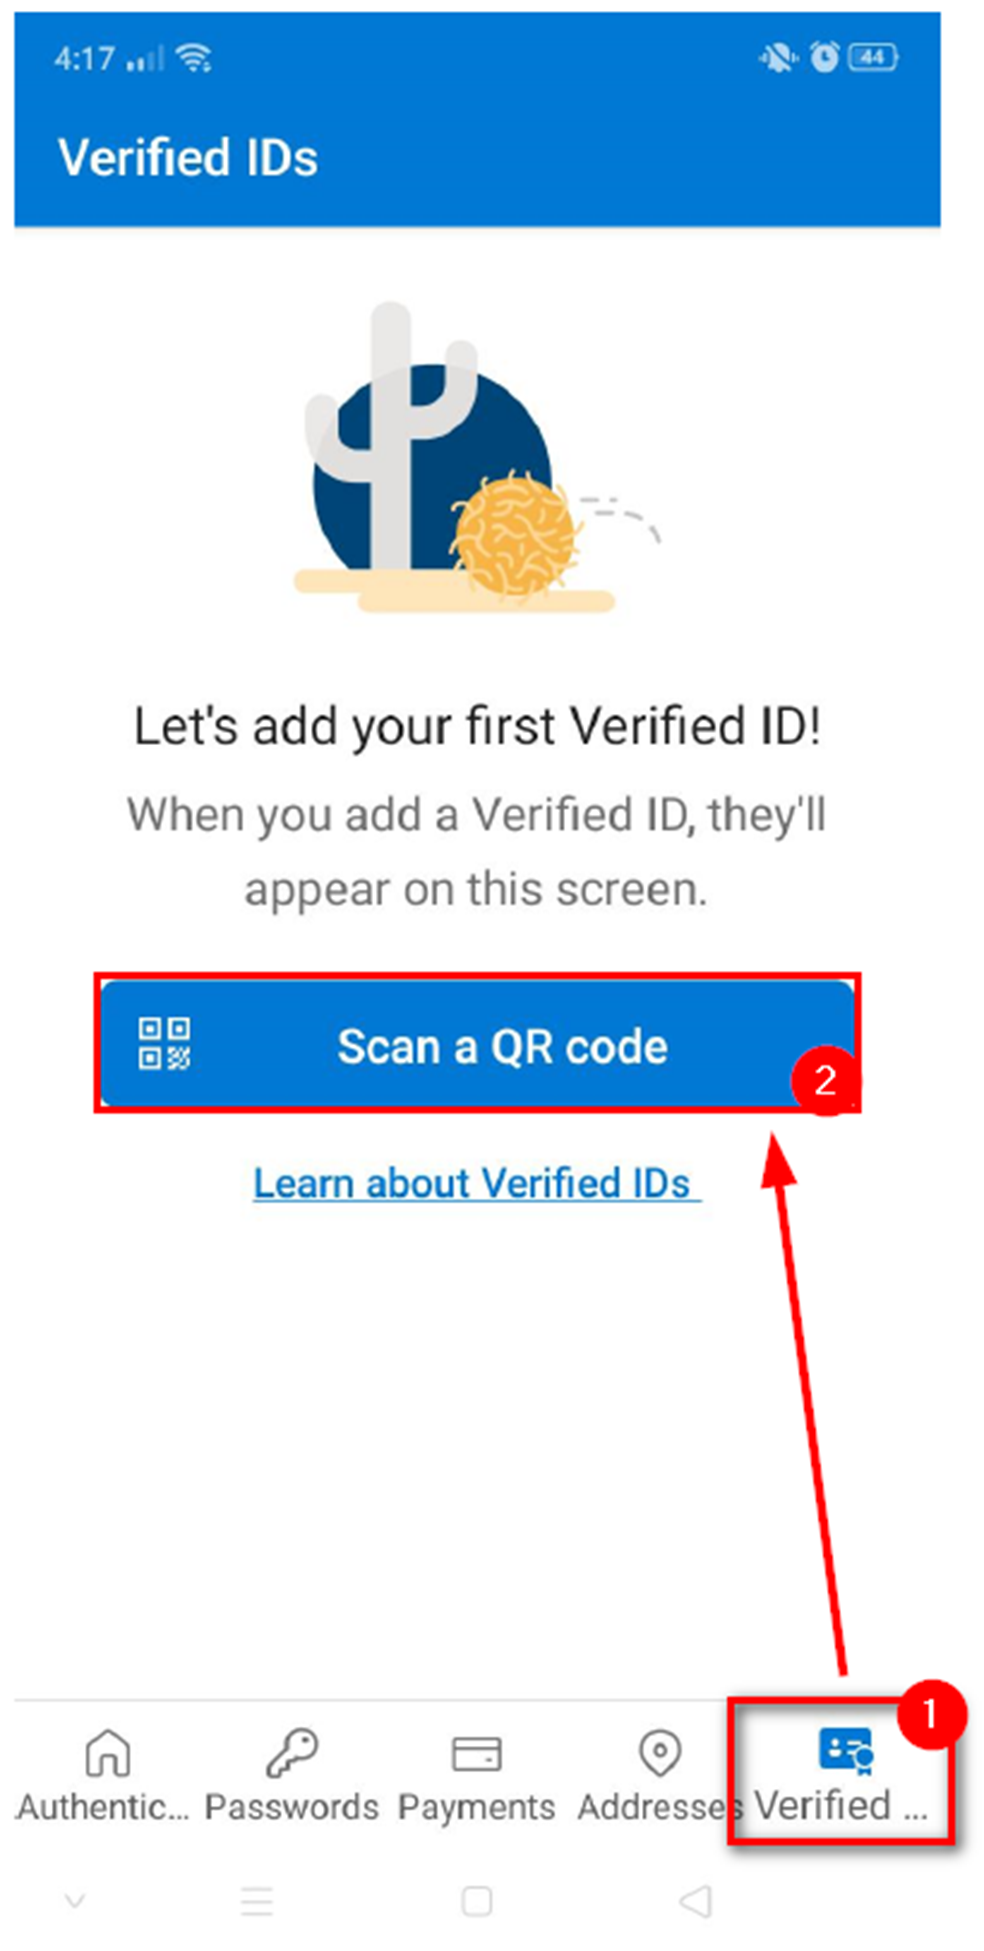
- Open the MS Authenticator app on your mobile device. Select allow notifications (if asked). If the Authenticator app is locked, click Unlock, then enter your mobile devices code (i.e. PIN #, face ID, pattern, fingerprint, etc.) then tap on Verified IDs in the lower right-hand corner. Tap Scan a QR code.

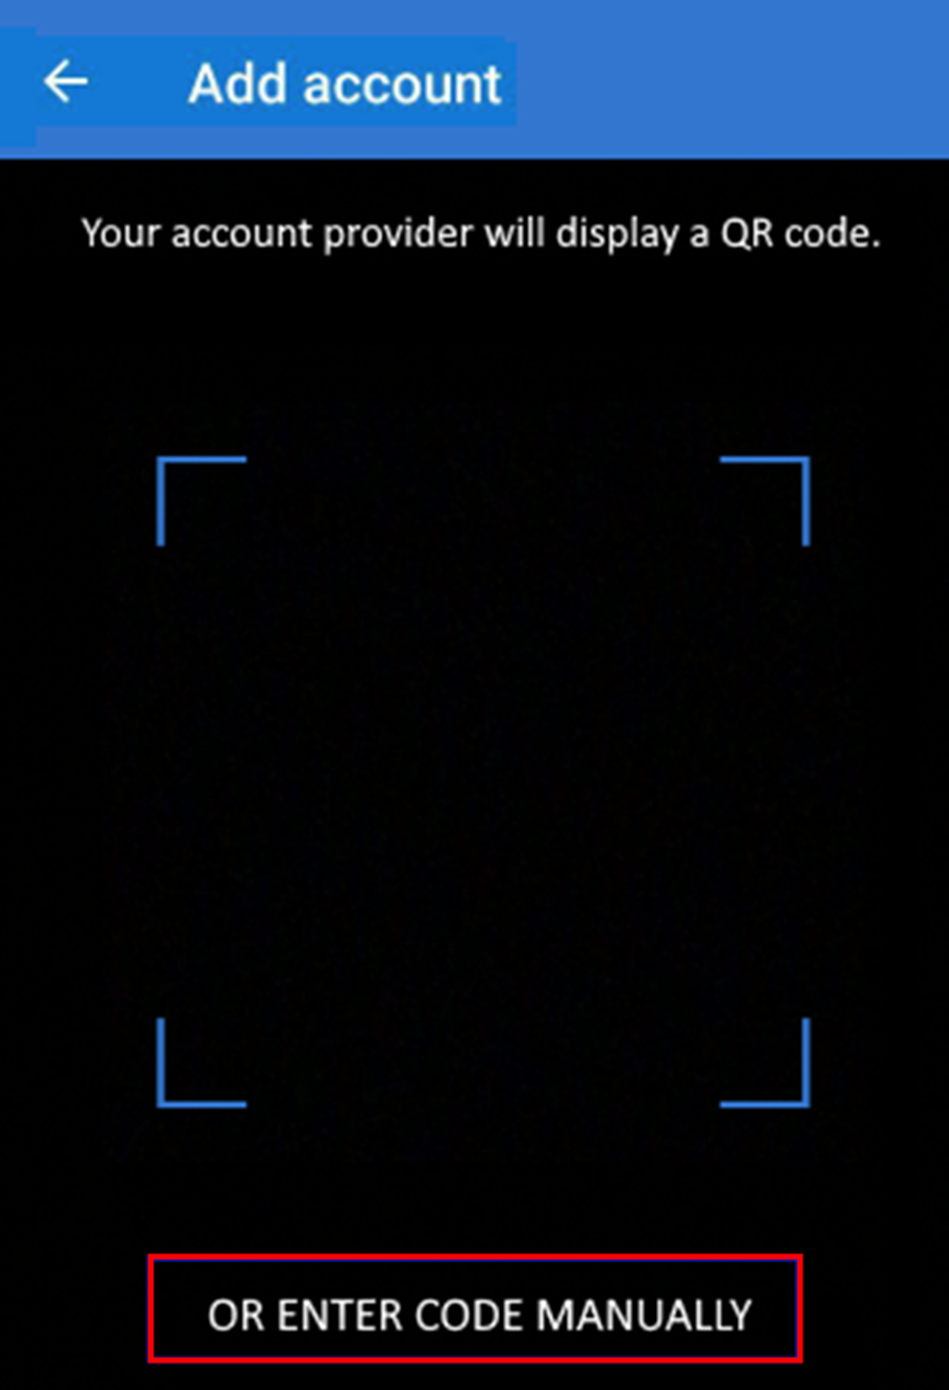
- Tap OR ENTER CODE MANUALLY.
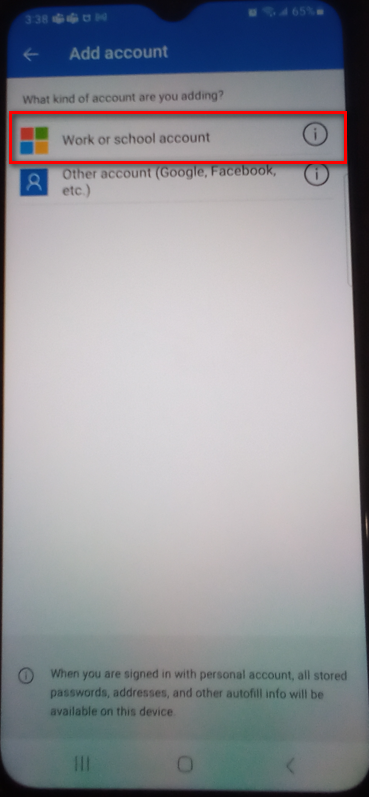
- Tap Work or school account.
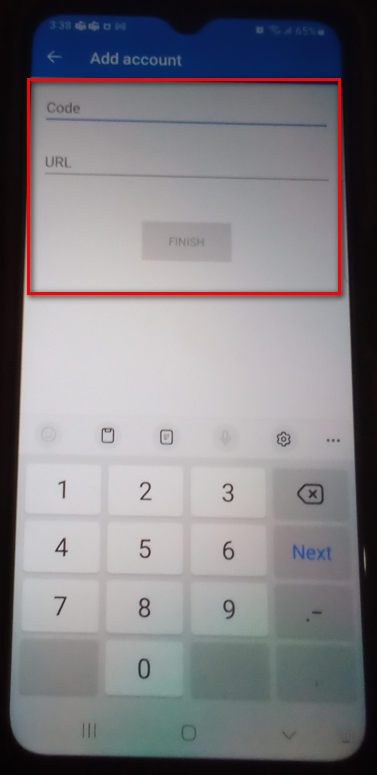
- Enter the Code and URL from Step 1. Select Finish.
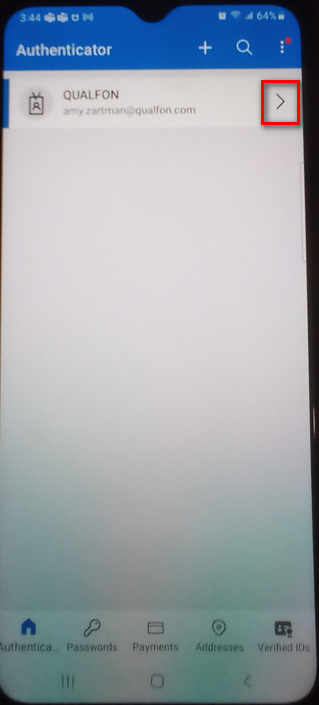
- The Authenticator screen displays your account name. Tap it to view a verification code, which updates every 30 seconds for added security.


Revision History
Date Created: 06/27/2023 7:14 pm EDT
Last Modified: 06/27/2023 7:14 pm EDT