Introduction
The following page contains log in information to QNECT.
Details
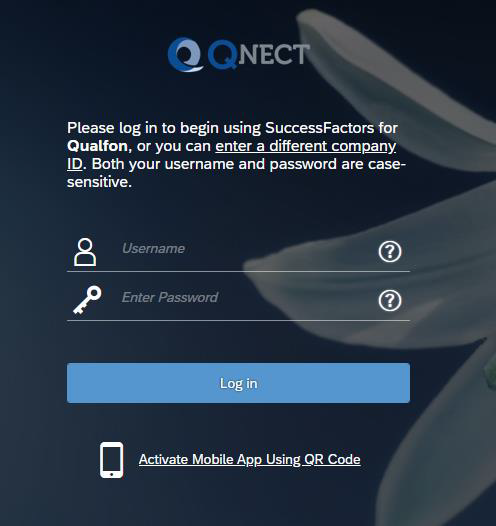
- Click on the QNect link: http://QNect.qualfon.com/
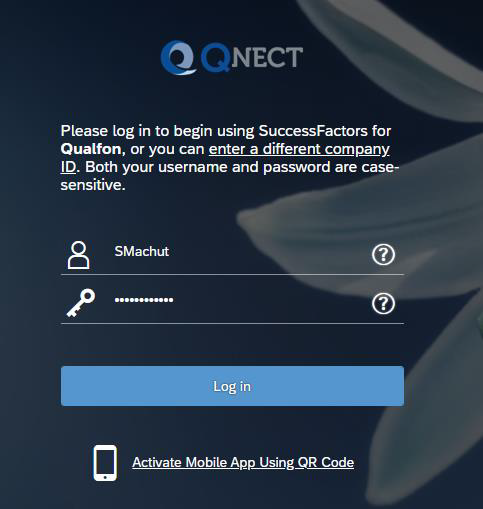
- Log in with your Qualfon Credentials:
- Username = email address / local workstation login + @qualfon.com (scott.smith@qualfon.com)
- Password = current Qualfon password
NOTE: If you have issues with your password go to Resetting Qualfon Domain Password If You Forgot It.
- Enter your login credentials and click Sign In.

- Scroll down to the “My Info” section, click on “My Profile”, and verify your personal information.
- If it is incorrect, please work with your local Person Office Team to update your information.
- If you haven't already set up a Qualfon profile with challenge questions so you can reset your own password / unlock your account on the self-service portal, then go to: https://resetpw.qualfon.com/showLogin.cc and create a profile.

QNECT Production Login
NOTE: Please clear your cache in order to login to QNECT Production. Preferred browsers are Chrome and Firefox. Users have experienced problems with Internet Explorer.
- Clearing Cache for Chrome:
- Open Chrome.
- Select the three dots at the top right of the browser.
- Select Settings.
- Scroll to the bottom of the page and select Advanced.
- Select Clear Browsing Data.
- A Clear Browsing Data pop-up will appear. You can either enter a Time Range or check the preferred boxes and click Clear Data.
- Clearing Cache for Firefox:
- Open Firefox.
- Select the history menu icon at the top right.
- Select History from the displayed options.
- Select Clear Recent History.
- Enter the desired Time Range. You can also choose Everything at the bottom of the drop-down menu.
- A warning message will appear advising you that this action cannot be undone.
- Select Clear Now to complete.
- To access production, make sure the statement below indicates you are using “SuccessFactors for Qualfon” as the company name or if you are prompted to for a company name enter Qualfon.
- If you are not prompted to enter the company ID, you can change the company by selecting the words “enter a different company ID”. Enter Qualfon for production or QualfonD for the development environment.
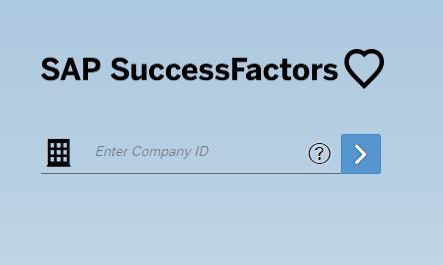
- If you are not prompted to enter the company ID, you can change the company by selecting the words “enter a different company ID”. Enter Qualfon for production or QualfonD for the development environment.
- Enter your username and password.


Revision History
Date Created: 12/09/2020 9:48 am EST
Last Modified: 12/09/2020 9:48 am EST