Introduction
Process details how to setup SIP & log into Avaya One-X Communicator.
Details
- Double click on the Avaya One-X Communicator icon on the desktop.

- Avaya may try to Auto-discover settings.
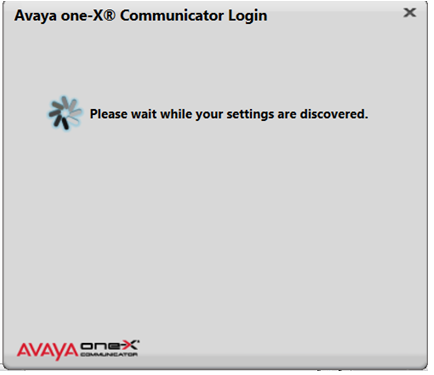
- Avaya may try to Auto-discover settings.
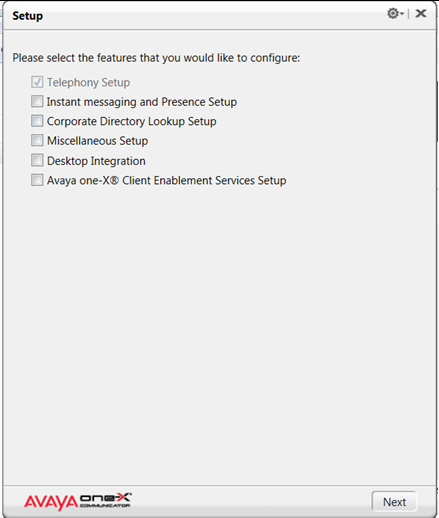
- Leave all options unchecked on the Setup screen except Telephony Setup and click on Next.
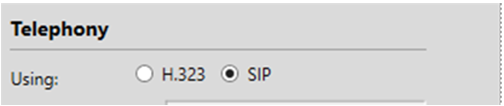
- On the Telephony screen, change the Using option from H.323 to SIP and click on Next.
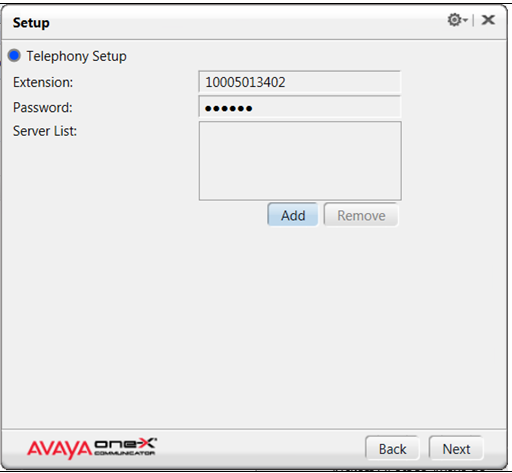
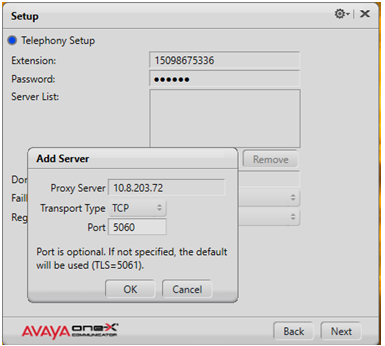
- On the Setup > Telephony Setup screen, add the assigned DID Extension, which is an 11-digit number assigned to each person, and the default Password. Default password is 123123.
NOTE: Numbers in below pictures are only meant for example purposes. Each employee will be assigned their own extension to use when setting up the softphone.
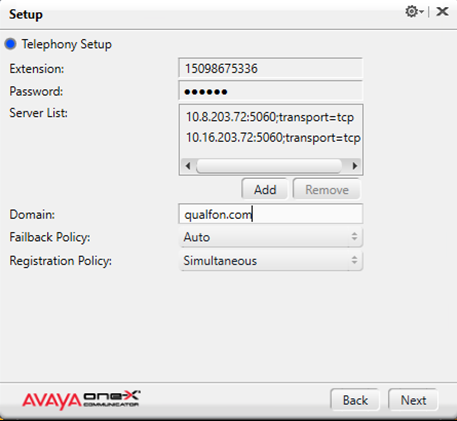
- Click on the Add button to add the Server List. Add the following to Server List: 10.8.203.72. Click on Add again and add Server List: 10.16.203.72. Make sure TCP is in the drop down for the Transport Type and Port is set to 5060. Click on OK.
- Back on the General Settings > Login > Telephony screen, enter qualfon.com into the Domain field. Click on OK.
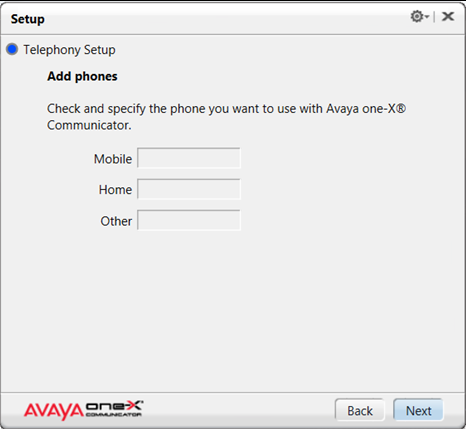
- On the Setup > Telephone Setup > Add Phones, leave everything blank and click on Next.
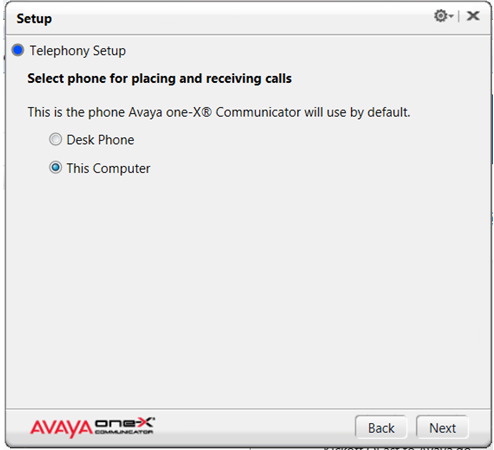
- On the Setup > Telephone Setup > Select phone for placing and receiving calls, select This Computer and click on Next.
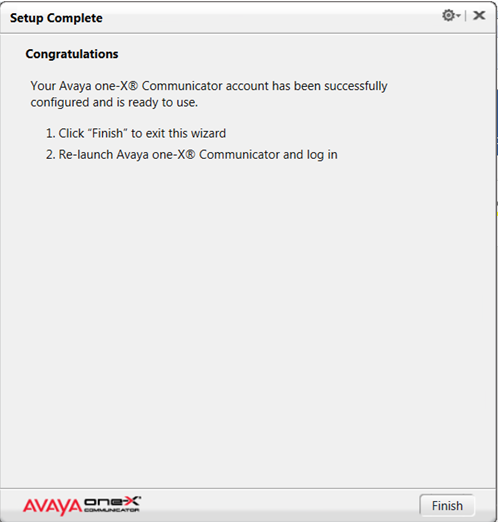
- On the Setup Complete screen, click on the Finish button and the setup will close.
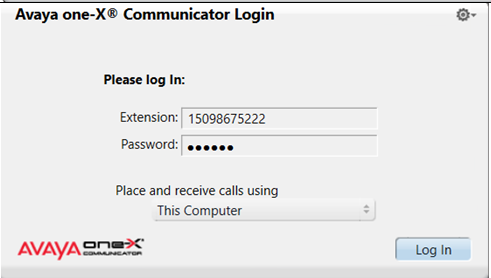
- Relaunch Avaya One-X Communicator. Verify the Extension / Password values and that Place and receive calls using is set to This Computer. Click on Log In.
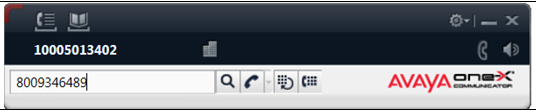
- The Avaya One-X Communicator connection is complete. Minimize the window and don’t log out until the end of your shift.


Revision History
Date Created: 01/27/2021 12:49 pm EST
Last Modified: 01/27/2021 12:58 pm EST